Client Portal Settings and Branding
The Client Portal Site Settings page, located at Run Business > Firm Profile > Client Portal, allows you to configure the experience your clients have on your Client Portal. Many of these settings will be established by your Onboarding Engineer in onboarding, but you can always come to this section to make edits and changes to the existing setup.
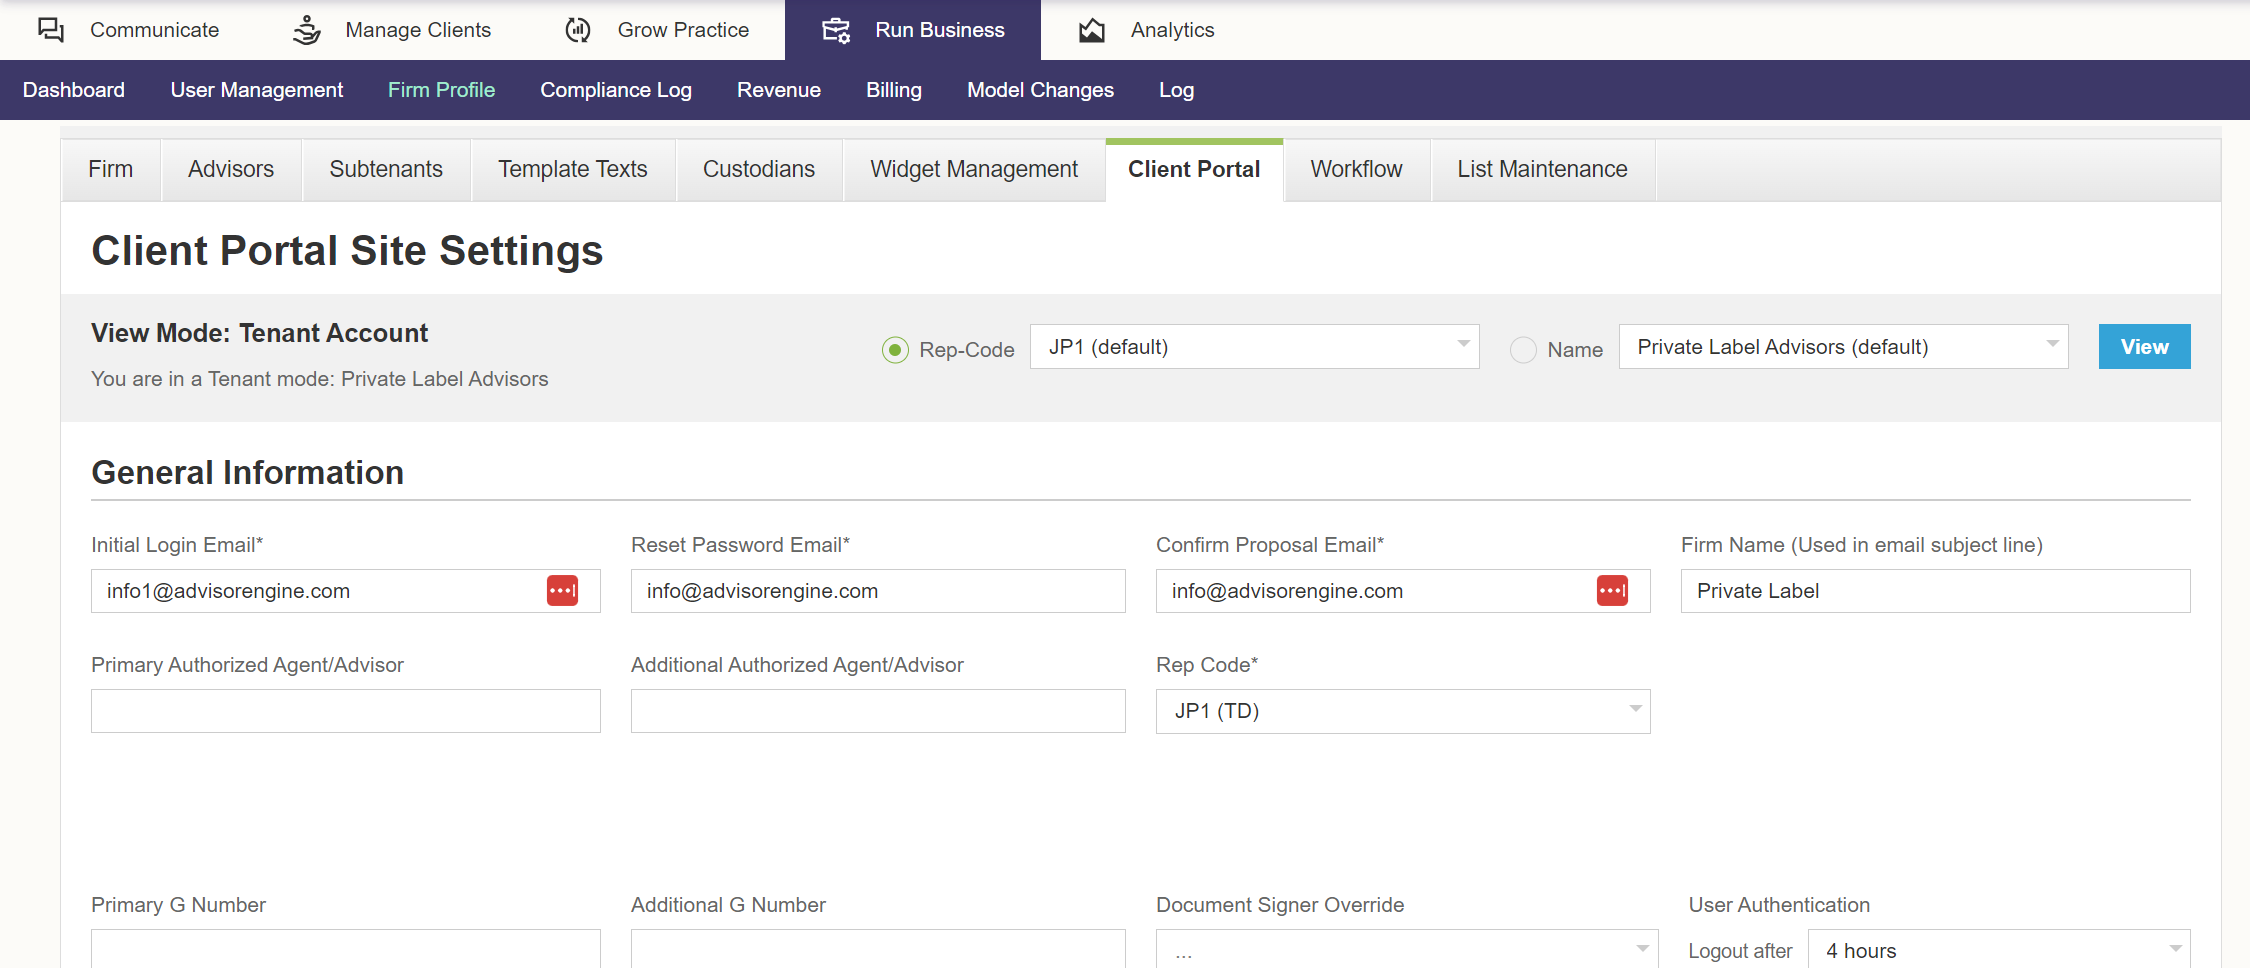
View Mode
By default, the Client Portal Site Settings page displays the settings for the Tenant site. If your firm has Subtenants established, use the rep-code or Name drop-downs to select a subtenant and click .
General Information
This is where a firm establishes the support contact information for the client portal, along with the designated rep code for new accounts being opened. The initial setup to this area will be done with your Onboarding Engineer during onboarding. The following fields and options are controlled in this section:
- Initial Login Email: The From email address that will be shown when a client receives a welcome email after being added as a user to the Client Portal.
- Reset Password Email: The From email address that will be shown when a client receives a password reset email for Client Portal access.
- Confirm Proposal Email: The From email address that will be shown when a client receives an email to confirm their Proposal.
- Firm Name: The firm name that will be displayed on the Client Portal and be contained in the subject of any automatic emails sent from the Portfolio Managment Suite.
- Primary Authorized Agent/Advisor: Name of the Agent/Advisor for the firm. Used only with Fidelity integration.
- Additional Authorized Agent/Advisor: An additional Agent/Advisor for the firm. Used only with Fidelity integration.
- Rep Code: New accounts created through the Client Portal will automatically be assigned to this Advisor Code.
- Primary G Number: G Number used for Fidelity integration. Part of an optional setup that will be configured by your Onboarding Engineer if they are needed.
- Additional G Number: Additional G Number used for Fidelity integration. Part of an optional setup that will be configured by your Onboarding Engineer if they are needed.
- Document Signer Override: Used in conjunction with Override Advisor Email Address to have any DocuSign packages sent to a different Advisor.
- User Authentication
- Logout After: Clients will be automatically logged out of the Client Portal after the inactivity period set here.
- Two-Factor Authentication: Require Clients to enter a code sent via text or email to log into the Client Portal. If enabled, you must also set the frequency of requiring a code to be entered.
- User Registration
- Manual Activation: Advisors can create Client Users for the Client Portal from within the Portfolio Management Suite that are "inactive". The Created client will need to be manually activated and invited after creation to become active.
- Allow Registration: Visitors to the Client Portal create a login and register for the Client Portal without needing an Advisor to create an account for them.
- Firm/Advisor Document Attachments: Select which documents will be pushed to the final DocuSign package.
- Proposal Only
- Account Only
- Account & Proposal
- Timeout for verification email link: Specify how long an invite email is valid for (default 24 hours). If the invited user does not respond in the time specified, a new invite needs to be sent.
Client Portal Settings
- Auto-Display Model Details: When taking a questionnaire, the details of the asset classes in the recommended model are displayed in a collasable list. This setting determines if the list is collasped or expanded by default.
- Display birth date and age: Enable or surpress display of birth date and age for the user profile on the client portal.
- Enable Landing Page: If the landing page is disabled, prospects who come to the Client Portal for the first time will be taken directly to the first question of the questionnaire.
- Override Advisor Email Address: Used with document signer override?
- User questionnaire manager: Select how questionnaires are presented to Clients in the Client Portal. You can show one question at a time, all at once, or dynamically based on the number of questions.
End-Client Recommendation Override
When a client or prospect reaches the end of a Risk Tolerance Questionnaire they are given a recommended investment Model. After accepting the recommended Model the client may choose a different model from their Client Portal page based on the setting below:
- Never Allow: There will not be an option to select a different model.
- Only Select More Conservative: Only more conservative models will be available to select.
- Select Within Range: The number entered here is how many models in either direction (aggressive or conservative) a client/prospect may select from the recommended model.
- Always Allow: Clients/prospects will see the recommended model along with all of the other models in the track, with the option to select any of them.
Generate New IPS for Portfolio Changes
Changes made to a client’s portfolio will create a new IPS and require clients to confirm the changes made from the Client Portal.
The Require End Client Approval? checkbox means the end client will need to digitally sign the new IPS through DocuSign before the changes can go into effect. If this is left unchecked, the new IPS will be generated but the end client will not have to sign the new version.
The Includes Users Without Accounts checkbox means end clients with no active accounts are included in this update. Uncheck this to only send an updated IPS to clients with active accounts in the system.
See Generating a New IPS for Portfolio Changes for more details.
Generate New IPS for Goals Based Planning
Similar to the above, this checkbox requires clients to sign off on any changes made to any goals based plan.
Client Portal Visual Branding
Set a custom logo and color scheme from the available options to make the Client Portal match your Firm.
Logos should be on white or transparent background with a maximum width of 250px.
Color schemes currently available:
Default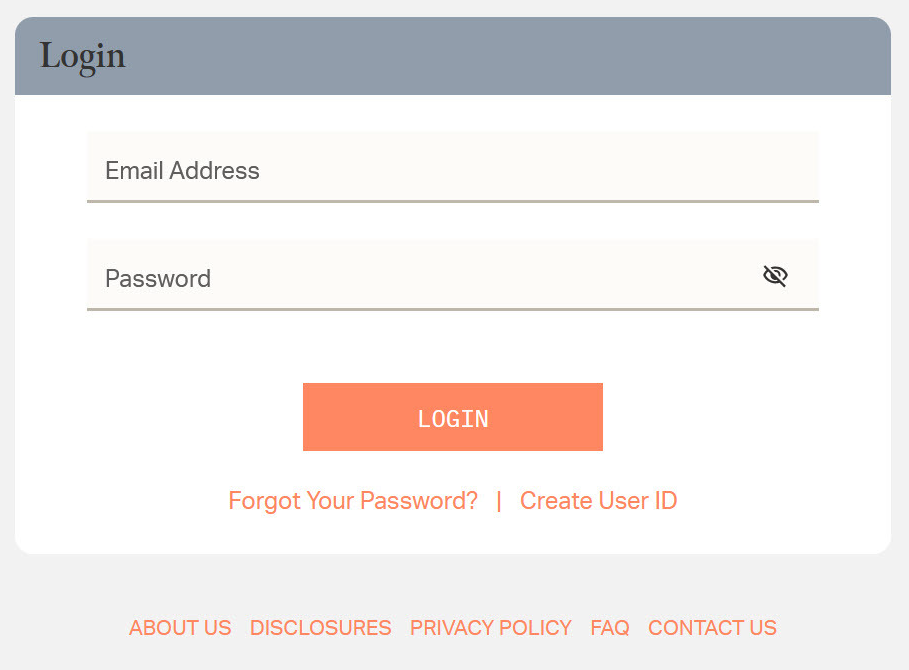 |
Classic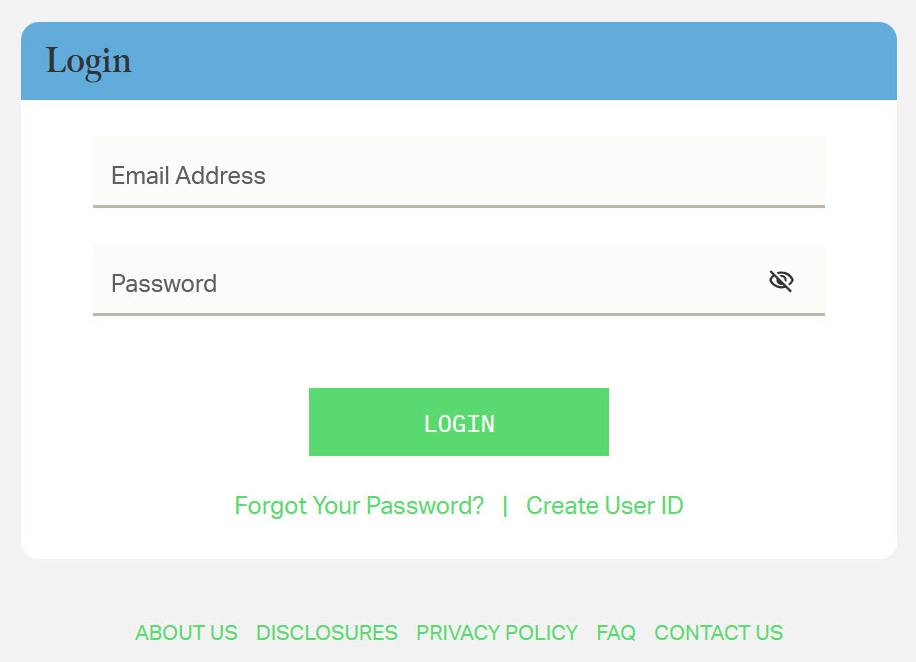 |
Soft Contrast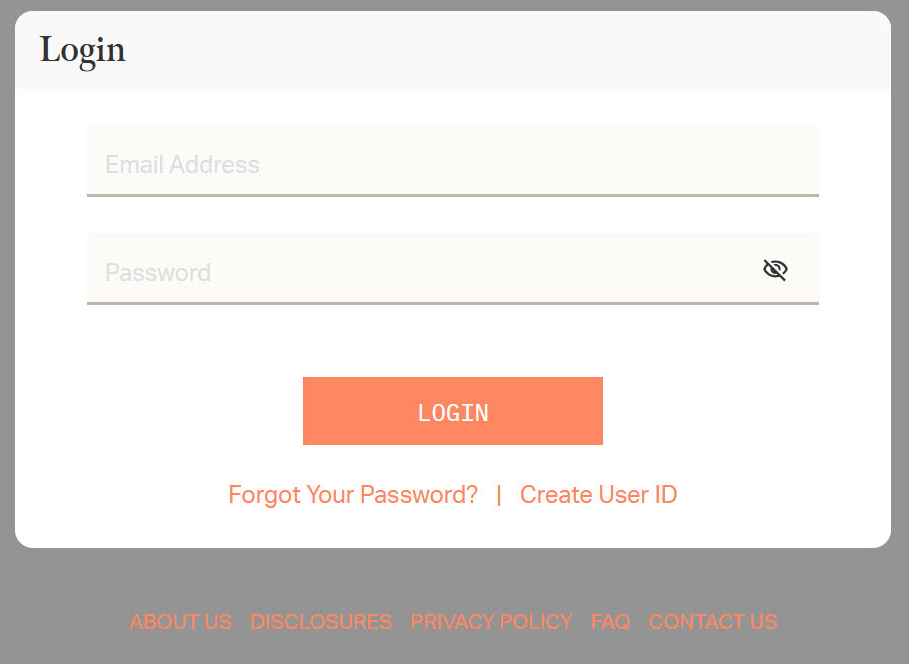 |
High Contrast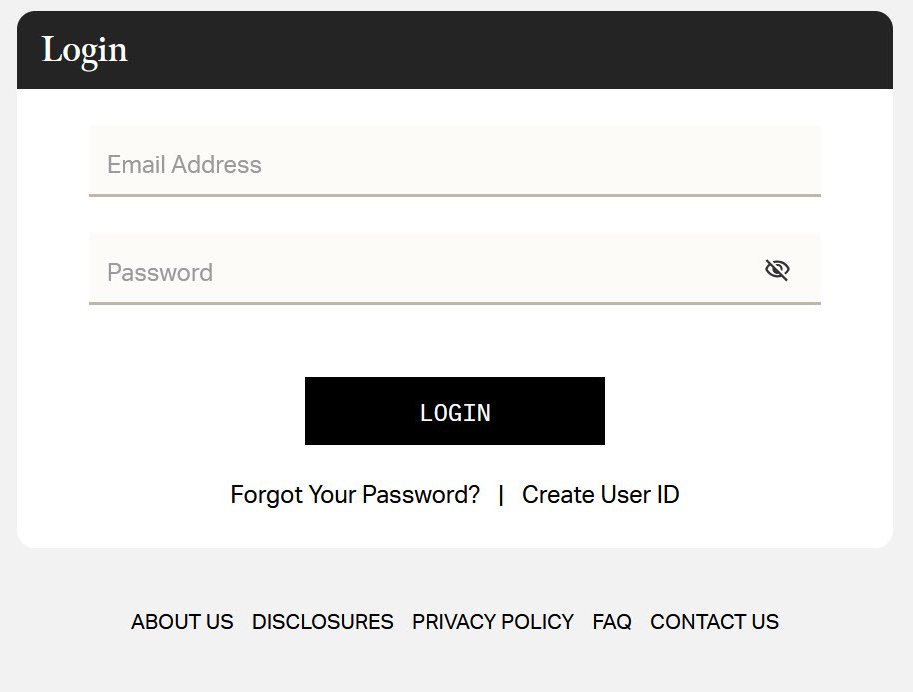 |
Blue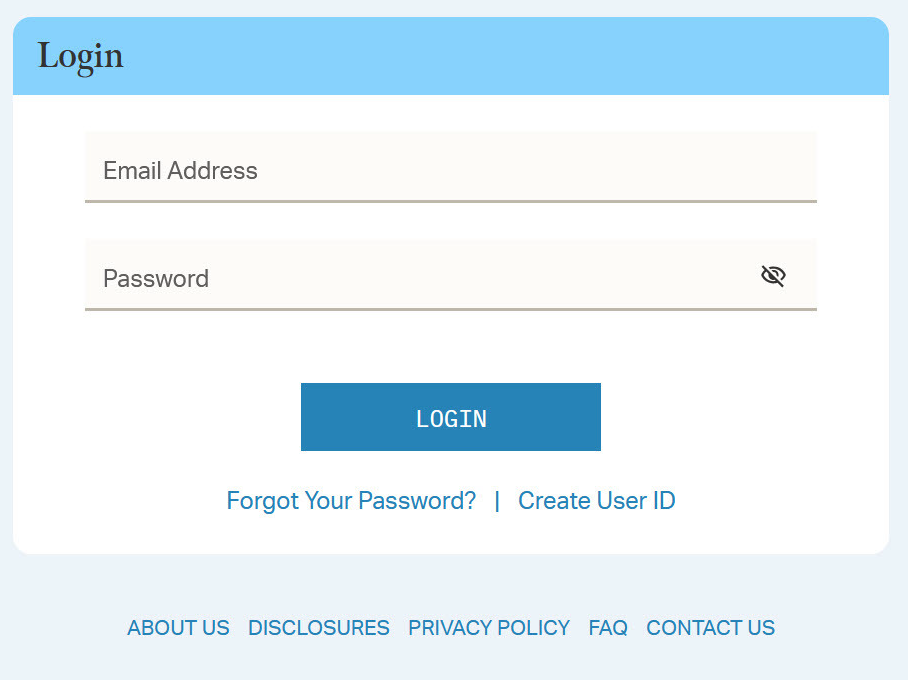 |
Green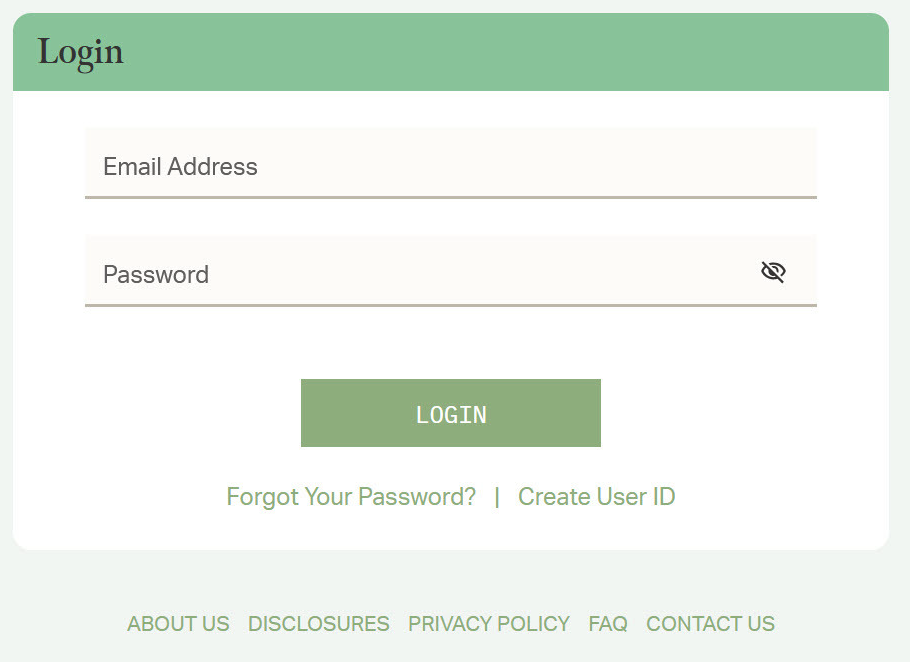 |
Golden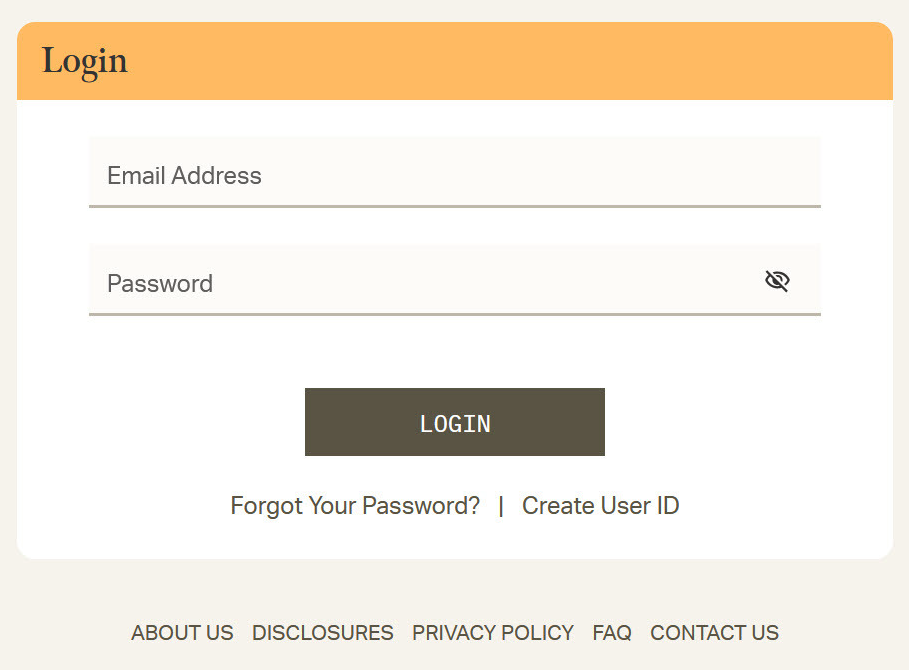 |
Purple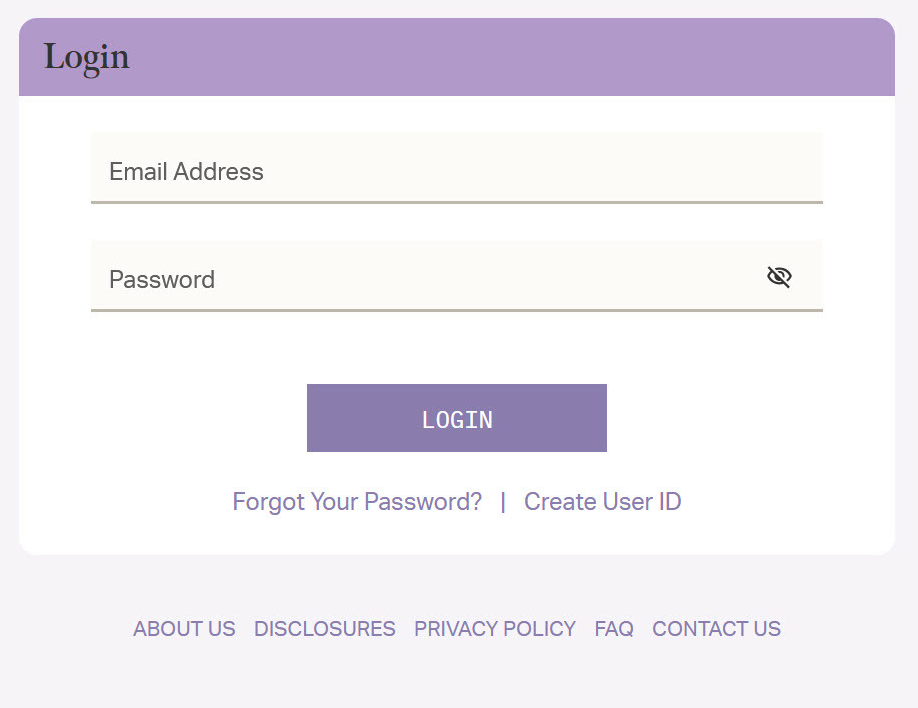 |
Salmon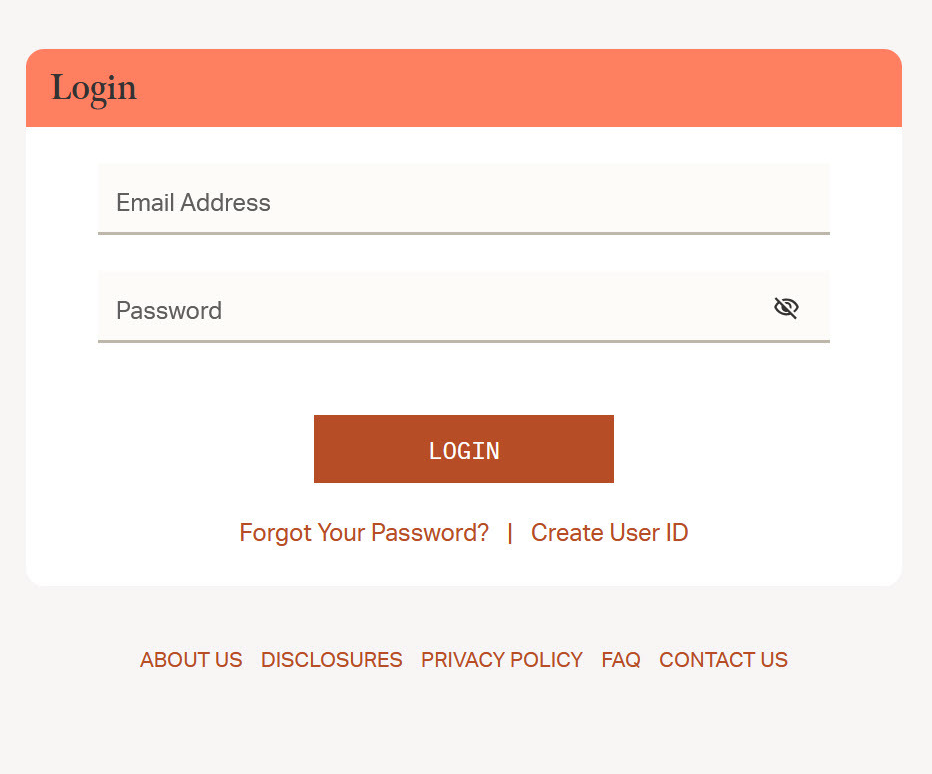 |
Dark Blue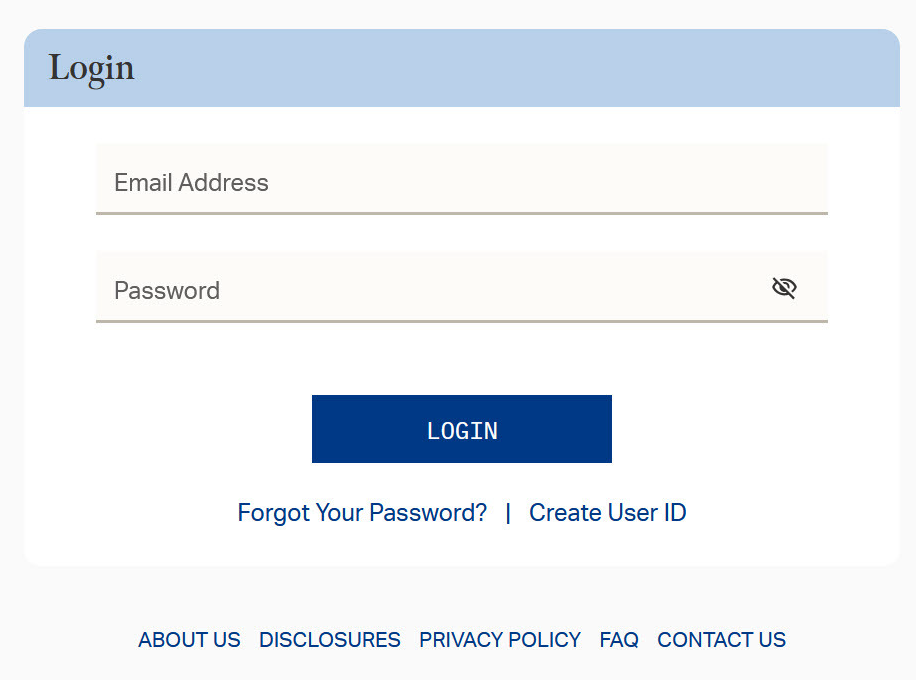 |
Sections
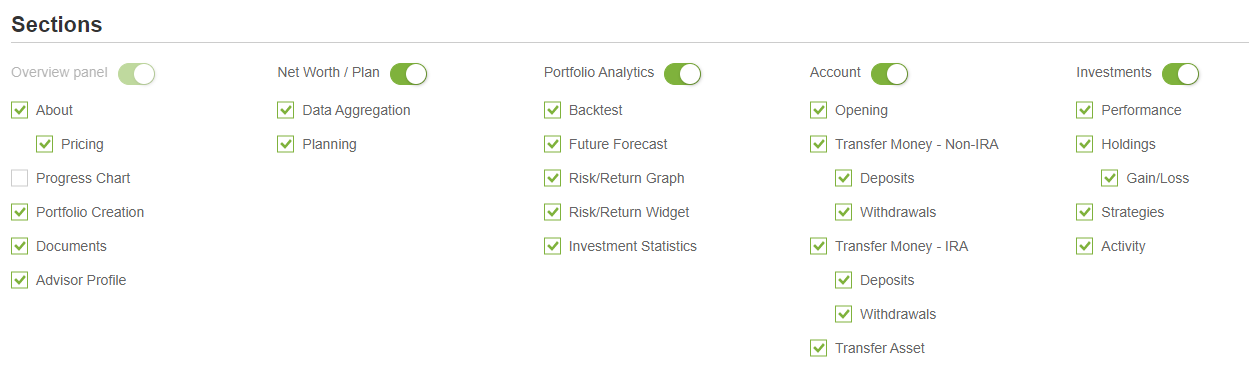
This area controls the sections and tabs that are available to Clients on the Client Portal. To remove access to main tabs or sub-tabs, uncheck the section. The following pages and sections are available:
- Overview Panel: The main landing page of the Client Portal. Cannot be disabled entirely.
- About: Section detailing the firm itself. Configured in Template Texts.
- Pricing: Explains tiers of fees as defined in the Default Fee Schedule.
- View Investment Profile: Show investment profiles on the Overview panel
- Investment Profile Creation: Allow the creation of new investment profiles.
- Investment Profile Assignment: Allow the user to change which investment profile is assigned to an account.
- Investment Profile Editing: Allow the user to make changes to the assigned investment profile itself.
- View Risk Score: Toggle the display of the Risk Score on the Client Portal.
- Advisor Profile: Enables the Advisor panel at the bottom, showing photo and other details about the Advisor.
- Documents: Enable the documents tab in the Client Portal.
- View Custodian Documents: Allows Clients to see custodian posted account documents.
- Upload Documents: Allows Clients to see documents uploaded by the Advisor and upload documents for the Adviso
- Account: Section allowing Clients to open and manage Accounts.
- Opening: Allows self-led digital onboarding so Clients can open Accounts themselves through the Client Portal.
- RTQ Required: Account opening requires the client to complete a Risk Tolerance Questionnaire.
- Transfer Money - Non-IRA: Allows fund transfers through ACH to non-IRA accounts.
- Deposits: Allows depositing of money into a non-IRA Account.
- Withdrawals: Allows withdrawing of money from a non-IRA Account.
- Transfer Money - IRA: Allows fund transfers through ACH to IRA accounts.
- Deposits: Allows depositing of money into an IRA Account.
- Withdrawals: Allows withdrawing of money from an IRA Account.
- Transfer Asset: Allows asset transfers through ACAT.
- Investments: Allows Clients to see performance and account activity for all aggregated and opened Accounts.
- Performance: Shows projected performance based on model and history.
- Show Fees on Overview Chart: Enable or supress firm fees as part of performance reporting.
- Holdings: Shows a detailed list of holdings in all opened Accounts.
- Gain/Loss: Enable or supress gain/loss visible within holdings.
- Activity: Shows historical activity in opened Accounts.
- Realized Gain/Loss: Shows realized gain/loss for holdings.
- Networth: Section allowing Clients to aggregate accounts and see total net worth and investments.
- Data Aggregation: Section allowing Clients to connect outside accounts by entering their credentials for other financial institutions.
- Goals Based Planning: Enable the Goals-based planning tab and option within the Client Portal.
- Goals-based plan required: Only goals-based plans are allowed.
- RTQ required for editing: Editing a goals-based plan requires having a completed Risk Tolerance Questionnaire.
- Plan Creation: Allow clients to create their own goals-based plan on the Client Portal.
- Plan Editing: Allow clients to edit existing goals-based plans.
Admin
End-Client Opportunity Name: Change the name of a Client Opportunity displayed on the Client Portal (default: Portfolio).
Data Aggregation
Maximum Recommended Instrument %: This field is unused.
Account Opening
Controls default settings for opening an account on the Client Portal. Available options include:
- Populated IPS: Pre-fill the IPS with relevant client data.
- Model Name on IPS: Adds the Model Name to the completed IPS.
- Disable Driver’s License Tag: Removes requirement for Client to upload a copy of their Driver’s license during the signature process.
- Send Email for Move Money: When any money movement is initiated, the client will receive an email notification. You can set a threshold at which the alert will be triggered with the Minimum $ Amount field. Move money transactions under this amount will not generate a notification.
- Lock Forms in DocuSign: Forms may not be moved or deleted in DocuSign.
- Require Attachment for ACAT Transfer: Any ACAT transfer will require the Client to upload an ACAT statement during the signature process.
- Email End Client for Account Opening: When an account is opened at the Custodian, the end client will receive a confirmation email.
- Require Attachment for Standing Instruction: Standing instructions from a new bank will require supporting documentation such as a voided check.
- Account Number Assignment: This setting is not functional.
- Number of DocuSign Auth Attempts: How many attempts the Client receives to pass the LexisNexis verification process before they are locked out and must be reset by the advisor or wait for the lockout period to pass.
Proposal
- Portfolio: Select the Questionnaire that the Client will be taken through when beginning the portfolio process on the Client Portal.
- Exclude from Platform: The Questionnaire set above will not be available as an option for Advisor-led Portfolio creation.
Notifications
The Notifications section allows you to add your own custom Secondary Notifications to the Client Portal. See Setting Up Client Portal Notifications for more information.
Contact Us
The Contact Us page on the Client Portal allows users to submit questions to your customer support without leaving the portal. It automatically pulls in client details so that your support team has the information they need to quickly answer user questions. The following setup options are available for this section:
- Contact Us Email Address: The email address that will receive support inquiries.
- Display FAQ section: Enable the FAQ section (below) on the Contact Us page.
- Accessible to logged in users only: The Contact Us section will only be available after an End-Client User has logged in to the Portal.
- Display chat: This feature is currently unavailable.
- Display phone options: Phone support hours and the phone number will be hidden at all times if this is disabled.
- Display after support hours: Show phone support hours and the phone number outside of the set support hours.
- Phone Support Hours: Set the days and hours your firm offers phone support.
The display of the Contact Us section depends on certain Template Texts as well.
FAQ
If enabled above, the FAQ section allows you to have ready answers to frequent client questions available on your Client Portal. FAQs can appear on the Contact Us page (see above), in their own page on the Client Portal, or both.
- Display FAQ page: Enable a separate page for FAQs.
- Accessible to logged in users only: If this is not selected, the FAQ page will be available on the login screen of the Client Portal.
For details on creating FAQs and FAQ Categories see Setting up Client Portal FAQs.
Related Articles
Firm Profile Settings
The Firm Profile page, located at Run Business > Firm Profile > Firm, controls the majority of the basic information and settings for your firm or individual Subtenant. The following sections and fields are available: Caution: Be sure to click Save ...Advisor Profile Settings
The Advisor Profile controls contact information that appears on the Client Portal as well as Rep Codes and other Portfolio Manager functionality. After adding an Advisor to the Portfolio Manager, take time to fill in the remaining relevant details ...Benchmarks for Client Portal
Advisors can now expose the same comparative benchmarks they see in their advisor platform to their end-clients through the Client Portal. See Performance Settings in Performance Benchmarks: Administration for details on activating this feature. ...Setting Up Client Portal FAQs
Client Portal FAQs allow you to post answers to frequent questions clients may have while using the Client Portal. Each FAQ question is assigned a Category for it to appear within on the FAQ Page or Contact Us page. See Client Portal Settings for ...Client Portal Mobile App Overview
The AdvisorEngine Client Portal Mobile App service allows your firm to present clients with a branded, mobile-friendly version of the Client Portal, available to your clients through the iOS App Store and Google Play Store. The app functions the same ...